To build a plastic injection molding machine, you must assemble a sturdy steel frame, mount a heated extrusion barrel with a plunger or screw mechanism, and integrate a clamping system to hold the mold closed. Precise temperature controllers and a reliable lever or pneumatic ram are essential for melting and injecting the plastic pellets under high pressure.
🎥 The Anatomy of an Injection Molder: Watch this detailed breakdown of how the frame, extrusion barrel, and clamping mechanisms are assembled to handle high-pressure plastic injection.
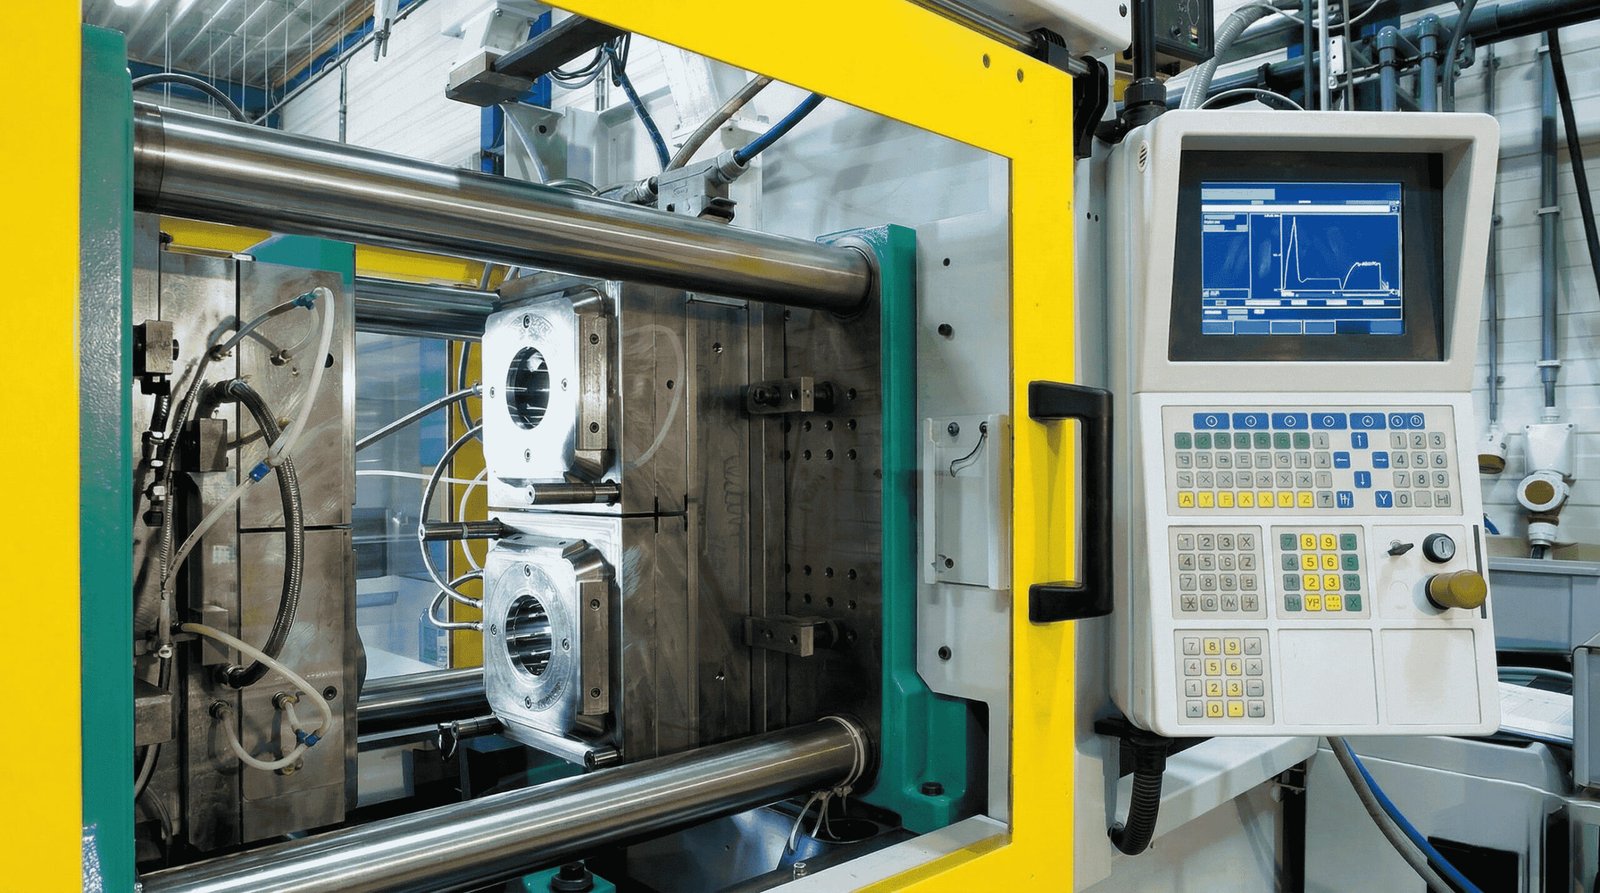
Core Components and Assembly Process
Building a reliable machine requires careful integration of mechanical, thermal, and structural systems. When designing your custom setup, you must focus on the following core sub-assemblies:
- The Frame and Clamping Unit: Construct a rigid framework using heavy-duty steel profiles. The clamping unit must utilize a toggle mechanism or hydraulic ram capable of exerting enough tonnage to keep the mold halves perfectly sealed during injection.
- The Injection Unit: Machine a thick-walled steel barrel to house the injection ram or reciprocating screw. Attach a specialized nozzle to the end that mates perfectly with your mold’s sprue bushing.
- The Heating System: Wrap the exterior of the barrel with industrial mica band heaters. Divide the barrel into at least two distinct heating zones (feed and nozzle) to ensure a gradual, consistent melt.
- The Control System: Wire solid-state relays (SSRs) to PID temperature controllers. Attach K-type thermocouples directly to the barrel to provide real-time thermal feedback to the PIDs.
GBM Pro Tip: In our lab tests at GBM, we found that using PID temperature controllers rather than basic thermostats prevents plastic degradation and ensures a consistent melt flow during the injection cycle.
How to make an injection molding machine?
⚠️ Safety Disclaimer: Plastic injection molding involves extreme temperatures (up to 400°C) and high pressure. DIY assembly should only be attempted by individuals with electrical and mechanical expertise. Always use appropriate thermal and eye protection.
Making a DIY injection molding machine involves fabricating a heated metal barrel, attaching band heaters, and constructing a manual or pneumatic plunger system. You will need basic welding skills to build a rigid frame capable of withstanding the clamping force required to keep your 3D-printed or aluminum molds tightly sealed.
🎥 Building a Desktop Machine: See how makers integrate pneumatic cylinders and PID controllers to create a functional, benchtop injection setup for prototyping.
Desktop Injection Machine Specifications
For makers and hobbyists creating benchtop units, sourcing the right off-the-shelf components is critical for safety and functionality.
| Component Category | Recommended Specifications | Purpose |
|---|---|---|
| Pneumatic Cylinder | 2-inch bore, 4-inch stroke | Drives the plunger to push molten plastic into the mold cavity. |
| Heater Bands | 110V/220V, 150W-300W | Melts the raw plastic pellets inside the extrusion barrel. |
| Thermocouples | K-Type | Reads accurate barrel temperatures up to 400°C. |
| Frame Material | 2×2 inch Square Steel Tubing | Prevents structural deflection under high injection pressures. |
GBM Pro Tip: Our engineers highly recommend starting with a pneumatic cylinder rather than a manual lever, as it provides the consistent injection pressure needed for complex geometries.
How much does a plastic injection mold machine cost?
The cost of a plastic injection mold machine ranges from $200 for basic DIY setups to over $100,000 for industrial-grade hydraulic presses. Desktop models for hobbyists typically cost between $400 and $2,500, while mid-sized commercial machines used in manufacturing usually start around $30,000 depending on tonnage and automation features.
🎥 Injection Machine Cost Breakdown: From $800 DIY setups to $100,000+ industrial hydraulic presses, discover what drives the price and performance of molding equipment.
Cost Breakdown by Machine Type
Understanding the financial investment required depends heavily on your production volume and part complexity.
| Machine Category | Average Cost Range | Target User | Typical Clamping Force |
|---|---|---|---|
| DIY / Homemade | $200 – $800 | Hobbyists, Makers | < 1 Ton |
| Commercial Desktop | $1,500 – $5,000 | Prototyping Labs, Small Shops | 2 – 5 Tons |
| Used Industrial | $10,000 – $40,000 | Medium-scale Manufacturers | 50 – 150 Tons |
| New Electric/Hybrid | $50,000 – $250,000+ | High-volume Production Facilities | 100 – 1,000+ Tons |
GBM Pro Tip: In our experience at GBM, budgeting for the machine is only half the battle; you must also allocate at least 30% of your initial capital for mold fabrication and auxiliary cooling equipment.
How much does a plastic injection mold maker make?
A professional plastic injection mold maker typically earns between $50,000 and $85,000 per year in the United States. Highly experienced tool and die makers specializing in complex, multi-cavity injection molds or high-tolerance medical components can command salaries exceeding $100,000 annually, often supplemented by overtime and specialized certifications.
Salary Factors for Mold Makers
The compensation for a mold maker is highly variable and depends on several key industry factors:
- Technical Expertise: Proficiency in operating 5-axis CNC mills, wire EDM machines, and reading complex GD&T blueprints significantly increases earning potential.
- Software Knowledge: Mold makers who can program toolpaths using advanced CAD/CAM software (like Mastercam or SolidWorks) are valued higher than those who only perform manual machining.
- Industry Niche: Those designing molds for the aerospace or medical device sectors earn premium wages due to the extreme tolerances required.
GBM Pro Tip: Our recruitment data shows that mold makers proficient in 5-axis CNC machining and advanced CAD/CAM software consistently negotiate salaries at the top of the pay scale.
How thick can you injection mold plastic?
You can injection mold plastic parts up to 0.5 inches (12.7 mm) thick, but the ideal wall thickness for most commercial plastics is between 0.040 and 0.150 inches. Molding thicker sections significantly increases cooling time, raises the risk of sink marks, and introduces internal voids during the curing process.
Maximum Recommended Thickness by Material
Different polymer chains react uniquely to cooling and shrinkage. Adhering to material-specific thickness guidelines ensures dimensional stability.
| Plastic Material | Recommended Minimum Thickness | Recommended Maximum Thickness |
|---|---|---|
| ABS | 0.045 inches (1.14 mm) | 0.140 inches (3.56 mm) |
| Polycarbonate (PC) | 0.040 inches (1.02 mm) | 0.150 inches (3.81 mm) |
| Polypropylene (PP) | 0.025 inches (0.64 mm) | 0.150 inches (3.81 mm) |
| Nylon (PA) | 0.030 inches (0.76 mm) | 0.115 inches (2.92 mm) |
GBM Pro Tip: When our clients require thicker geometries, we always recommend coring out the design or using structural foam molding to maintain structural integrity without extending cycle times.
What is the wholesale cost of OEM hydraulic components?
The wholesale cost of OEM hydraulic components for injection molding machines varies widely; directional control valves range from $150 to $800, while high-capacity hydraulic pumps cost between $1,200 and $5,000. Purchasing these parts directly from OEM suppliers in bulk typically yields a 20% to 40% discount off retail pricing.
Hydraulic Component Pricing Matrix
When servicing or building commercial-grade molding equipment, sourcing OEM hydraulics wholesale is critical for cost control.
| Hydraulic Component | Wholesale Price Estimate | Replacement Frequency |
|---|---|---|
| Proportional Directional Valves | $400 – $1,200 | 3 – 5 Years |
| Variable Displacement Pumps | $1,500 – $4,500 | 5 – 8 Years |
| Hydraulic Cylinders (Clamp) | $800 – $3,000 | 7 – 10 Years |
| Inline Oil Filters | $25 – $75 | 6 Months |
GBM Pro Tip: Our maintenance teams have found that investing in premium OEM proportional valves upfront reduces long-term machine downtime and pays for itself within the first year of high-volume production.
What are the lead times for sourcing custom-machined extrusion screws?
Lead times for sourcing custom-machined extrusion screws typically range from 6 to 12 weeks. This timeframe accounts for the complex engineering, specialized alloy sourcing, precision CNC machining, and specialized surface treatments like nitriding or bimetallic coating required to withstand the abrasive nature of melted plastic polymers.
Extrusion Screw Manufacturing Timeline
The creation of a custom reciprocating screw is a multi-step metallurgical process that cannot be easily rushed without sacrificing quality.
- Engineering and Flight Design (1-2 Weeks): Engineers calculate the exact compression ratios, feed zones, and metering zones based on the specific resin you intend to mold.
- Raw Material Sourcing (1-3 Weeks): Procuring high-grade tool steel (such as 4140 or H13) that meets the required metallurgical certifications.
- Machining and Grinding (2-4 Weeks): CNC lathes and specialized grinders carve out the intricate flight geometries to exact tolerances.
- Heat Treatment and Coating (2-3 Weeks): The screw undergoes nitriding, hard-chrome plating, or bimetallic hard-facing to prevent premature wear from glass-filled plastics.
GBM Pro Tip: To prevent production bottlenecks, we always advise our manufacturing partners to order replacement extrusion screws at least three months before the anticipated end of the current screw’s lifecycle.
Why Trust GBM?
Understanding how an injection molding machine operates is only the first step. The true success of your manufacturing run relies on the precision of the mold inside that machine. At GBM, we are experts in custom plastic injection tooling, ensuring your machine and your mold work in perfect harmony.

- Optimized for Your Equipment: We don’t just build molds in a vacuum. GBM’s engineering team designs every tool to match your specific machine’s specifications—from clamping tonnage and tie-bar spacing to shot size and extrusion screw capabilities. This ensures seamless integration whether you run a 50-ton hydraulic press or a 500-ton all-electric machine.
- Proactive DFM Engineering: As highlighted in our thickness guidelines, poor part design leads to sink marks and slow cycle times. GBM provides comprehensive Design for Manufacturability (DFM) analysis and Moldflow® simulations before cutting steel, solving thermal and flow issues so your machine runs at peak efficiency.
- Global Tooling Standards: Built to exact international standards (SPI/HASCO/DME), our precision-machined molds utilize premium tool steels (like H13 and S136) capable of withstanding the high-pressure environments of commercial molding for millions of cycles.
- Your End-to-End Partner: From resolving complex gating issues to minimizing gate vestige for automated runs, GBM empowers manufacturers to lower their total cost of ownership through superior tooling design.
Don’t let a subpar mold bottleneck your expensive machine. Contact GBM today to discuss how our custom tooling solutions can elevate your production line.
Conclusion
Building and maintaining a plastic injection molding machine requires precise engineering, a deep understanding of thermal dynamics, and careful sourcing of high-quality components.
Whether you are building a prototype machine or scaling to an industrial line, the heart of the process is the mold. Contact GBM’s engineering team for a professional DFM analysis of your project.